The Assemblying Process
As I mentioned yesterday, I took some photoes during the assembly of the box. But first of all just a few notes about this project. This was an Online Class from Martina Weber of Chatelaine in 2006, I started the panels as each part was being released each month. I stopped after the panels as I wasn't too keen on the other accesories that come with this 1 year class. I then had a gap of more than 1 year where it was sitting in my wips piles. (I had lasic eye surgery and couldn't bear the idea of over 1 stitching on 32 count fabric.) I finished the lid + bottom last month. The finishing kit was from Judy Odell. In total it took 5 evenings to finish.
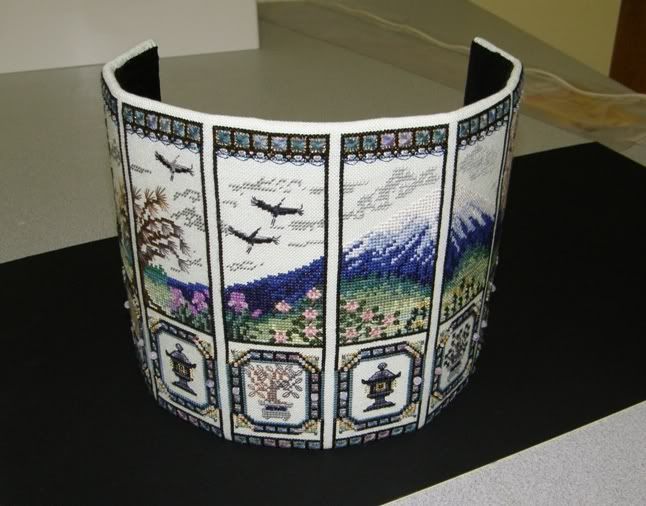
 This is the panels after being laced up, I used glue gun as per instruction initially but got worry very soon after. I'm using all acid free materials including the mat. I'm not sure if the glues is going to do to my stitching in many years to come so switched to full lacing instead for the rest. Hence took a little longer to do the whole project.
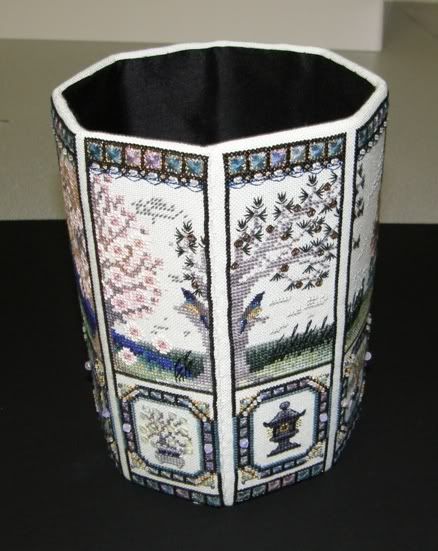
This is after the panels are joined up. The curve need which Judy provided had been magical in this so is the ladder stitch. The ends just joined up so beautifully. The stitches disappeared after pulling tight. You can't see the join here, can you ? I am so happy , I wish I knew about these when I did the finishing for my simple needlebook many years ago. This is just so much tidier and easier. The finishing was a breeze. I didn't have to ask DW for advice at all. Whereas previously she got sick of me asking her what and how to do next. LOL
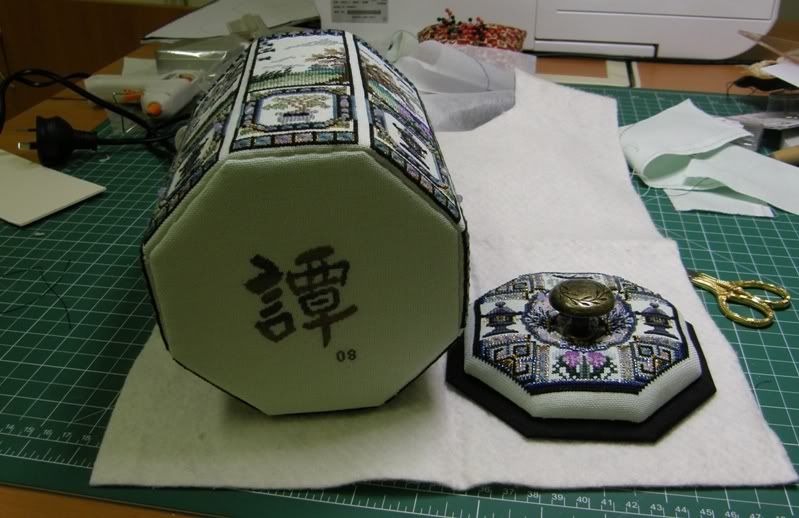
 Now the secret compartment is done and the bottom is also stitched in. I have made the secret compartment taller than Judy's instruction. The seperator was also thicker as I used 2 mats joined together instead just 1. You couldn't see the secret compartment in the video as I forgot to show it and it was dark anyhow. Maybe the net video. You can also see the lid half done. I need to add the 'catcher' underneath. The knob was very hard to do as I was too scare to break a thread in my stitching. Luckily DW has knitting needles of various size which did the job for me.
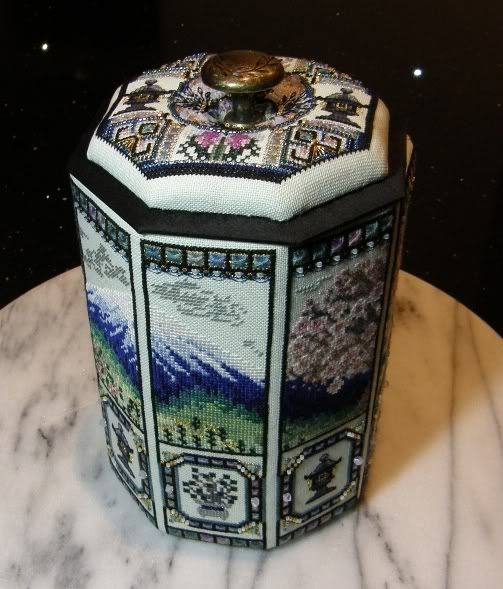
 And voila this is the finished project.
 I decided not to put the cord and tassels in as I think it will obstruct the view of the panels at the bottom, but I might change my mind later.
Gosh this is a very long post and thank you for your attention.


6 Comments:
This is just exquisite Tim. You're justified in shouting out loud for this. Now, what's next?
Tim, you did a wonderful job finishing the box!!! That is a spectacular piece, and one that I suspect will be passed down in your family for generations to come. Well done!!!!
Nice progress photos! Are you going to tell us where we can *see* the ladder stitch??
Nancy, the ladder stitch is in the middle of picture 2. Between the 2 birds in the tree. Those were the ends of the panels joined up. Can't see the stitch at all.
Tim, this is gorgeous! Congratulations on the stitching finish, but even more for the finishing into the box!
Truly spectacular, thanks for sharing!
Beautiful job! Your stitching and finishing are exquisite!!!
Post a Comment
<< Home